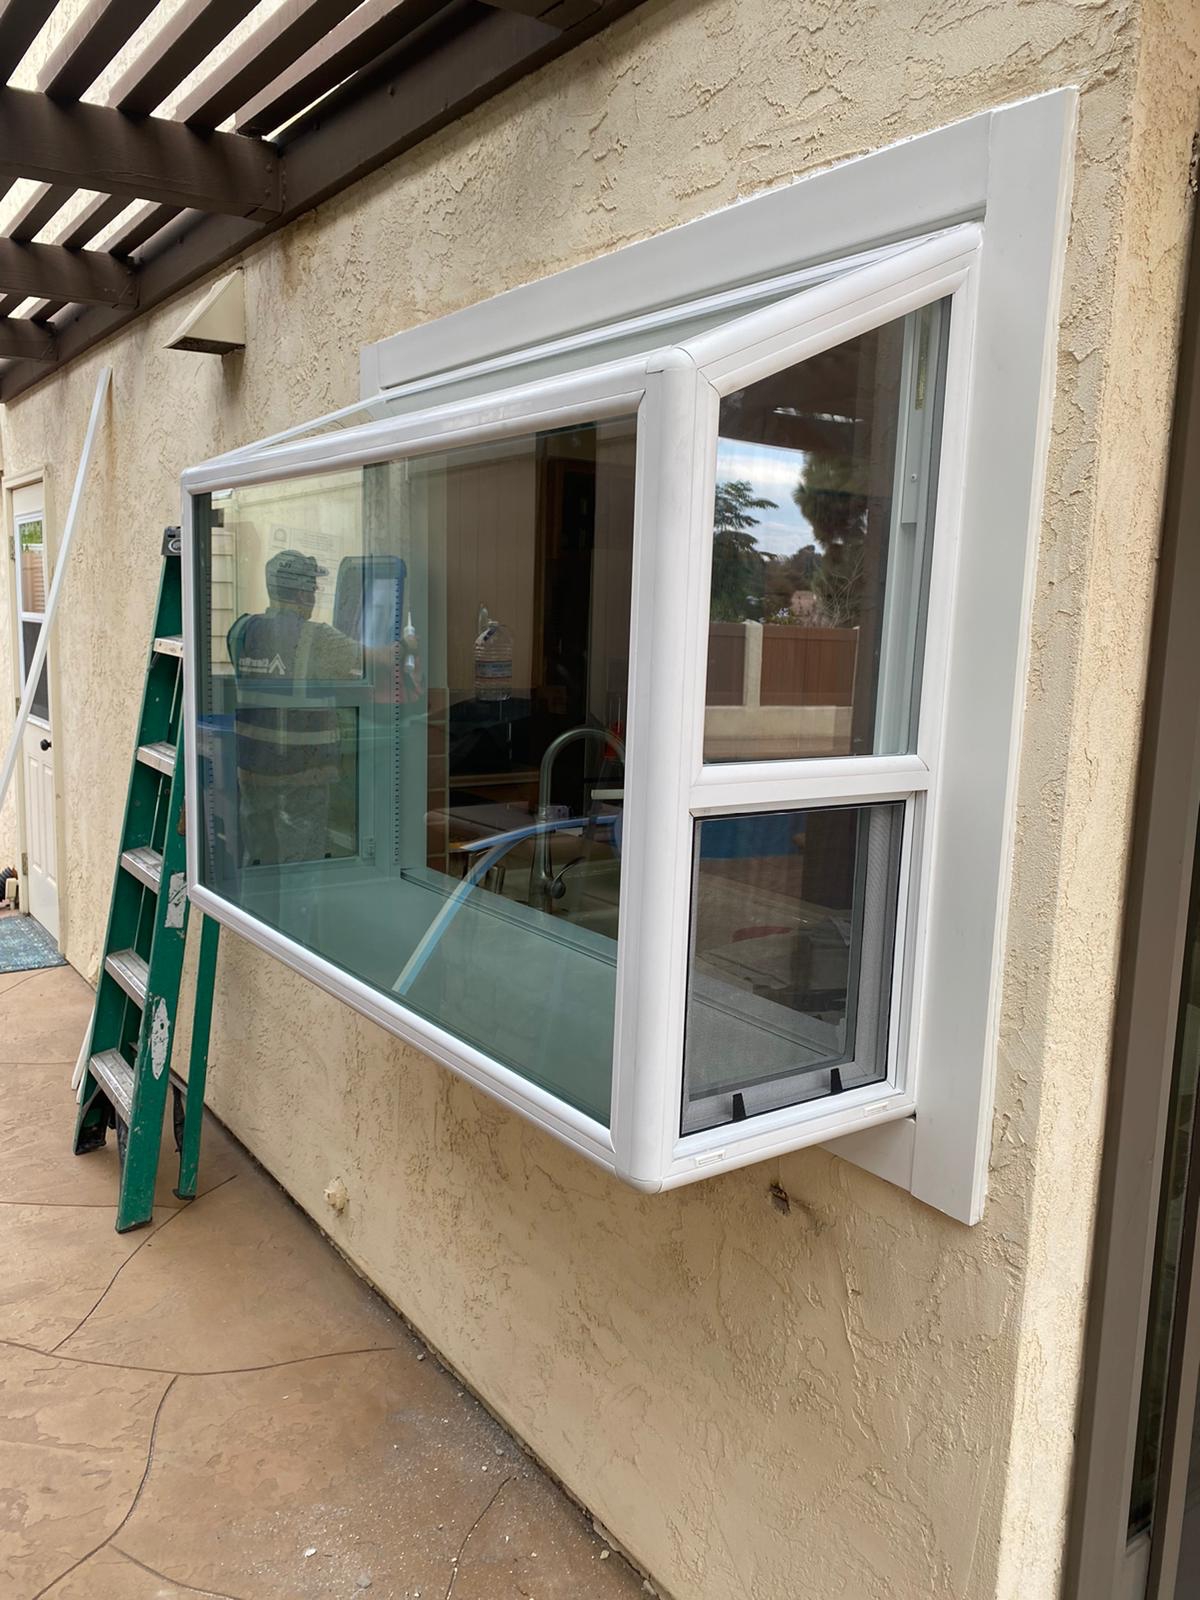
First check: whether the drainage holes are blocked — the most easily overlooked cause of water leakage
Many customers report that the 55 Series single-hung window leaks water from the inner side of the window frame during rain, and their first reaction is to suspect a problem with the profile or the weatherstripping. However, based on our experience handling engineering and distribution channel feedback, more than half of the "leaks" are actually just blocked drainage holes — this is the most easily overlooked and also the easiest cause to fix.
Function of drainage holes and common blockages
The bottom of the 55 Series single-hung window profile is designed with drainage holes (usually located on the lower outer side of the window frame, 2-4 per window) to guide rainwater that enters the profile cavity out. If these holes are blocked, rainwater will accumulate inside the profile and eventually overflow from the indoor side gaps, making it look like the window is leaking.
There are three common types of blockages:
- Dust and mud: Long-term lack of cleaning, especially in construction sites or areas with strong winds and sand, where dust clumps when it meets water.
- Insects or spider webs: Small insects or ants build nests or leave remains inside the holes.
- Cement blocks or sealant residue: During installation, cement mortar or foam splashes onto the window frame, drying and blocking the drainage holes.This is the most common situation in engineering procurement.
How to quickly check and unclog drainage holes
Inspection method: Look for small holes about 5-8mm in diameter (usually elongated or round) on the bottom of the outer side of the window frame. If there are obvious foreign objects, dust accumulation, or gel-like substances inside the hole, it is blocked. A more direct method: pour a small amount of water on the inside of the window frame and observe whether the water can flow out smoothly from the drainage hole.
If water accumulates inside the profile and does not drain out, it indicates a blockage.
Clearing Steps(Can be performed by the user):
- Use a thin iron wire or a paper clip to insert into the drainage hole and gently poke out the blockage.Be careful not to use excessive force to avoid scratching the surface of the profile.
- If the blockage is dried cement or glue, gently scrape it off with a small screwdriver or a flat-head screwdriver, then clean the debris with a damp cloth.
- After cleaning, rinse the drain hole with clean water to ensure smooth water flow.
Key Trade-off: If water still leaks after cleaning the drain hole, the problem may lie in aging sealing strips, uneven window frame installation, or gaps in the glass bead—at this point, further inspection is needed rather than repeated unclogging. For large-scale engineering projects, it is recommended to confirm the drain holes of each window are unobstructed by pouring water during installation acceptance, to avoid rework one by one later.
Next Confirmation Action: If you have a 55 Series single casement window sample or an installed window, take 5 minutes to perform a water pouring test. If the drain hole is clear but water still seeps in, please provide photos of the seepage location (one from the interior side and one from the exterior side) to our technical support team, and we will help you determine whether it is a sealing issue or an installation issue.
Second check: Whether the sealing strip is aged or deformed — the "invisible killer" of water leakage
The sealing strip of the 55 series single-hung window is usually made of EPDM or silicone material. Both materials have good weather resistance, but long-term exposure to sunlight, temperature differences (especially sudden rain after summer heat), and ozone will still cause gradual aging. Aged sealing strips lose elasticity, harden, shrink, or crack, leading to seal failure between the sash and frame — rainwater seeps through these gaps.
Typical signs of aging sealing strips
You can judge by direct observation and touch:
- Hardening, loss of elasticity: Press the strip with your finger; if it feels hard like plastic, rebounds slowly or not at all, it indicates aging.
- Cracks or fractures appear: Especially at corners or sealant joints, fine cracks visible to the naked eye.
- Shrinkage or shortening: The sealant strip shortens in length, causing gaps at the ends or inability to fully fit the window frame groove.
- Sticky surface or chalking: Silicone sealant strips may become sticky on the surface after aging, while EPDM may develop a white powdery substance on the surface.
Key judgment: If any of the above conditions occur, it indicates that the sealant strip has failed and is one of the direct causes of water leakage.
Timing and Method for Replacing Weatherstripping
When Must It Be Replaced?
- If obvious cracks, breaks, or shrinkage gaps are found → replace immediately.
- If the weatherstripping has hardened but not yet cracked → it is recommended to replace before the rainy season, because the sealing performance has significantly decreased after hardening, and continued use will accelerate wear on the window frame groove.
- If it is only partially dirty or slightly deformed, first clean and check if it can restore elasticity;if not, replacement is also recommended.
Pay attention to two points when replacing:
- Confirm that the weatherstripping model matches the groove: The cross-sectional shape and dimensions of the weatherstrip for the 55 series casement window are specific, and may not be interchangeable between different brands or series.Before replacement, confirm whether the width, thickness, and groove shape of the weatherstrip match the existing window frame.
- Prioritize using original or same-specification accessories: If you randomly purchase a universal weatherstrip, it may not fit tightly or seal properly, leading to new problems.
Next Confirmation Action: If you find the weatherstrip aging but are unsure which specific weatherstrip specification your 55 series casement window uses, you can directly contact our sales or technical support team, provide a cross-sectional photo of the window frame or the product model, and we can help confirm the matching solution.
Third check: Whether the joint between the window frame and the wall is cracked—a common hidden danger during installation
Once the sealant (usually weather-resistant sealant) between the window frame and the wall cracks, rainwater will seep into the wall along the crack, causing mold on the interior wall and peeling of the paint. This is one of the most common causes of water leakage after the installation of 55 series casement windows, and it is often mistakenly attributed to poor sealing of the window sash itself.
Causes and Risks of Joint Cracking
Cracking is usually caused by three conditions:
- Thermal Expansion and Contraction: The thermal expansion coefficients of aluminum alloy and walls (concrete/brick) differ. When temperature differences are large, the sealant is pulled apart.
- Wall Settlement or Vibration: Micro-movements in new buildings or old house walls cause the sealant layer to tear.
- Improper Installation: Failure to clean dust before applying sealant, not filling with foam rod (backer rod), or applying a sealant layer that is too thin (less than 5mm).
Risk Assessment: If water leakage occurs around the window frame rather than at the sash opening, and there are damp marks or water stains on the interior wall after rain, over 90% of the cases are joint issues. The profile wall thickness of the 55 Series single-hung window is 1.4mm, which provides sufficient rigidity, but the sealing quality of the joints depends entirely on the installation technique, not the window type.
How to Inspect and Repair Joints
Inspection Steps (DIY, complete in 5 minutes):
- After rain or by spraying water at the junction between the window frame and the wall, observe whether water seeps into the corresponding interior area.
- Use a flashlight to shine along the outer joint of the window frame, and check for obvious cracks, debonding, or missing sealant.
- Gently scrape the sealant surface with a fingernail: if the sealant is hard and lacks elasticity, it indicates aging and failure.
Repair method (for small cracks only):
- Tools: weather-resistant sealant (neutral silicone sealant recommended, color matching the window frame), caulking gun, utility knife, cloth.
- Steps:
- Use a utility knife to remove old sealant, and clean dust and debris from the gap.
- Insert a foam backer rod (diameter slightly larger than the gap width) into the gap, leaving 5-8mm depth for sealant application.
- Apply sealant evenly along the gap, smooth it with a scraper or finger, ensuring the sealant adheres firmly to both the window frame and the wall.
- Allow 24 hours for curing, avoiding contact with water during this time.
Situations not suitable for DIY repair: If the crack length exceeds 1 meter, there are obvious cracks in the wall (not a sealant layer issue), or water leakage has caused extensive mold on the interior wall, it indicates a problem with the wall structure or waterproof layer. You need to contact the construction party or a professional waterproofing company for treatment. In this case, repairing the sealant is only treating the symptom, not the root cause.
Key Trade-off: For the 55 series single-hung window project, joint cracking is the "weak link" in the installation process — even if the window itself is of stable quality, substandard installation will lead to water leakage. If you are a contractor or dealer, it is recommended to focus on inspecting the joint caulking process during acceptance, and require the construction party to provide the brand and warranty certificate of the sealant. If the sealant layer is found to be cracked, prioritize requesting rework rather than self-repair, because the cost of rework is far lower than the subsequent repair of the wall.
Fourth Check: Whether the glass seal has failed — common issues with insulating glass
The 55 series single-hung window commonly uses an insulating glass configuration of 5+12A+5 (5mm glass + 12mm aluminum spacer + 5mm glass). Its sealing structure relies on two lines of defense: the butyl sealant between the glass and the aluminum spacer, and the structural sealant or sealing strip between the glass edge and the window frame. Aging, cracking, or insufficient compression during installation of these two seals can lead to seal failure.
Signs of glass seal failure
- Fogging or condensation inside the glass: The interior of insulating glass should be dry. The appearance of fog or water droplets indicates that the seal has been compromised, allowing moisture to enter the airspace.
- Water lines at the glass edge: Moisture seeps in from the edge, forming fine water marks on the inner side of the glass. In severe cases, water may flow down the window frame onto the interior windowsill.
- Noticeable temperature difference on the glass surface: After seal failure, the insulating layer loses its thermal performance. In winter, the inner surface of the glass becomes colder than normal glass, making it prone to condensation.
The relationship between fogging and water leakage in insulating glass
Fogging in insulating glass is related to water leakage, but there are two situations:
- Fogging only without water seepage: In the early stage of seal failure, moisture enters the hollow layer but has not yet penetrated to the indoor side.At this time, the interior of the glass fogs up, but water does not directly flow onto the windowsill.This situation does not immediately cause water leakage, but it reduces thermal insulation performance and accelerates further aging of the sealant.
- Fogging accompanied by edge water seepage: After complete seal failure, water vapor seeps into the room through gaps at the edge of the glass, manifesting as water stains on the inner side of the window frame or on the windowsill.This situation is part of the water leakage problem and needs to be investigated together with other factors such as window frame drainage and rubber seal sealing.
Common Problems
Q1: The insulated glass is fogging up. Does it need to be replaced immediately? Not necessarily. If the fogging is slight and does not affect the view, you can observe it for 1-2 months.
However, if the fogging continues to worsen or water droplets appear, it is recommended to replace it as soon as possible, otherwise freezing in winter may crack the glass.
Q2: Can the glass configuration of 5+12A+5 be changed to 6+12A+6? Yes, but it is necessary to confirm whether the glass slot depth of the window frame matches. The groove of the 55 Series single casement window typically supports 5mm-6mm glass. It is recommended to provide the window frame cross-section drawing to the hyperstron team for confirmation.
Q3: Is the failure of the insulating glass seal related to the window frame weatherstripping? It is related but not the direct cause. The window frame weatherstripping is responsible for the seal between the sash and the frame, while the insulating glass seal is a structural feature of the glass itself.
If the window frame weatherstripping ages, water can seep through the frame gaps, but it will not cause fogging inside the glass. The two issues need to be investigated separately.
Q4: After replacing the insulating glass, how can you determine if the new glass seal is qualified? Observe for 1-2 weeks after installation. Check whether there is fogging inside the glass during weather with large temperature differences (such as morning and evening in winter). Qualified insulating glass should remain dry for at least 5 years under normal use conditions.
Learn more
Drain holes, weatherstripping, joints, glass—after checking these four areas, most water leakage problems of 55 series single casement windows can be located.If you encounter uncertain situations during the inspection, or need to match original weatherstripping or confirm glass specifications, you can directly contact our technical support team. Provide on-site photos or window frame models, and we will assist you in confirming the solution.
Related products:55 series single casement aluminum window